Wednesday, December 28, 2011

Scrappy Thank You Cards

Thought I would share these cards with you since it is a great way to use up some scraps.
Here are the two cards:


The card on the left is what my original idea was and the second card is made with the negative from die cutting the tree. So I ended up with two cards from one idea.


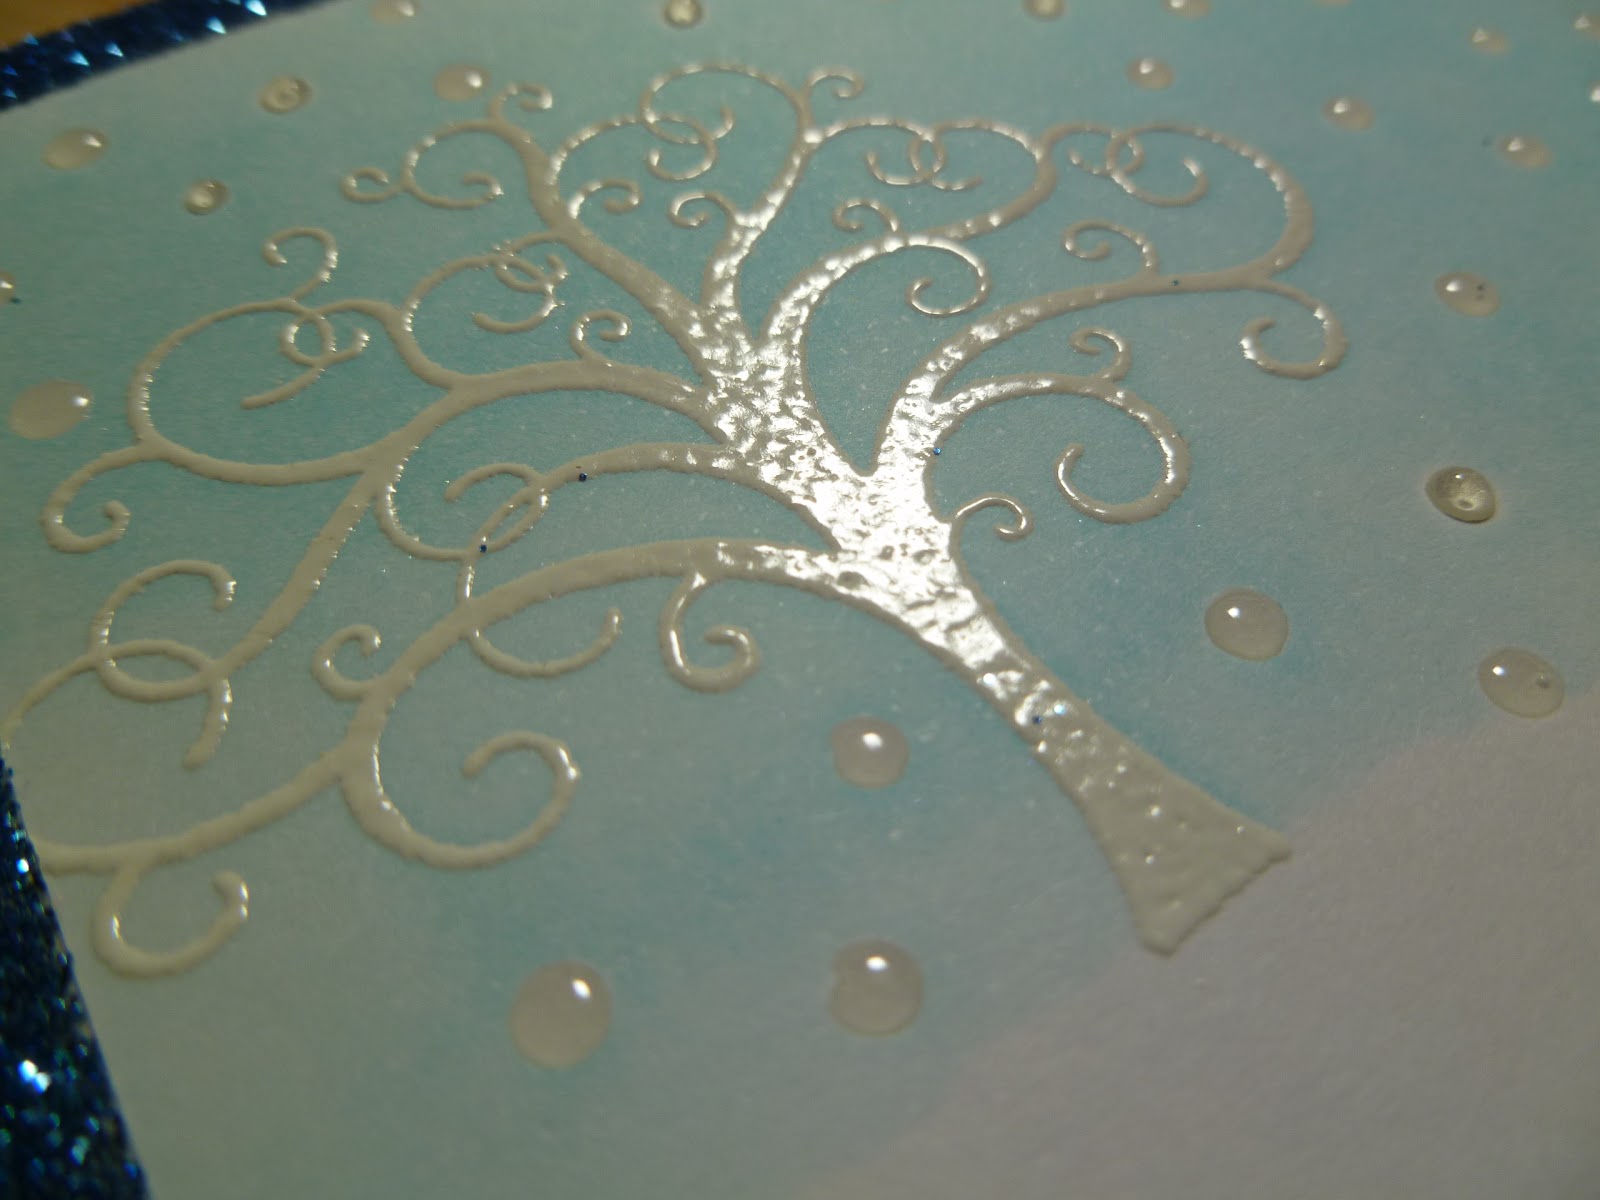
To make the tree I used a piece of scrap white paper that was bigger than the Papertrey Ink tree die but you really could use any color as you are going to cover it. Next I just raided my green scraps and I wasn't too picky about the length just as long as they were longer than the width of white paper. I cut the paper into widths of 1/4" and 1/2" but you could make them all the same width if you wanted to. Once the white paper was covered with strips of solid and pattern paper ( I used a tape runner to adhere the strips) I then just trimmed all around the edges so the strips were the even with the white paper. It is faster just to let the strips over hang and then trim instead of taking the time to cut them to the same length.


Next lay the die over the white paper with the green strips and run it through your die cutting machine. If you plan on using the negative make sure you put the die on where you want it. For mine I just made sure it was centered. I inked the edges of the tree with Vintage Photo Distress ink. When you have a lot of detail like the tree it is easier to take the pad off the inking tool and just use the pad. It gets in the nooks and crannies very well that way. I found a piece of green scrap paper the size of my card front then I tore a strip of scrap white paper and inked the torn edge with Tumbled Glass Distress Ink and adhered it with pop dots to the green paper at the bottom. Then I wrapped some metallic floss around the tree before adhering it to the card. I used pop up dots on the tree to adhere it to the green part of the card and then tape runner on the part of the tree that was on the white paper. I stamped the sentiment in black ink. Then I matted that with a dark brown cardstock and adhered it to the cardbase. Stamped the sentiment in the middle of the tree with black ink and that was it.


For the next card I simply backed the negative space that was left from the die cut tree with a scrap of green pattern paper using pop up dots to adhere it.


Oh I forgot I also inked the inside of the negative with Vintage Photo Distress ink again with just the pad.


I was able to make both cards using just scraps. I really like the card made from the negative the best and it was the afterthought.
Which one is your favorite?

You could do the same with a flower or butterfly die or just about any die you would like.

Friday, December 23, 2011

Quick Christmas Card Inspiration

Just a quick post to get these cards up before Christmas. I know it's too late to make cards now but maybe they can be inspiration for next years cards.

I know it's sad I make cards but don't make my Christmas cards. I only have made cards once for Christmas. I did make five cards to send this year and here are the two designs I used. I think I got both ideas from Paper Crafts magazine if I remember right.


I used a dictionary page for the background, inked the edges with Peeled Paint distress ink, used red pen stitches around the edges of card, cut a trianlgle from pattern paper for tree, used silver pen for stitches around tree, round stickers for onaments and inked Sticky Back Canvas inked with Vintage Photo distress ink. I used several different stamps on cream cardstock for the sentiment and cut them out.


Here is the second design:

 I love this card. First step I decided where I wanted the tree and used white embossing powder. Next I decided where I wanted the sentiment and where the snow was going to be and covered the rest with Glossy Accent dots for snowflakes. I let that dry for a few hours then I tore paper for the snow and held it in place as I inked the sky with Broken China distress ink.

I love how the glossy accent gives dimension to the flakes. I think you could also sprinkle with glitter before it dries.


Next I stamped the sentiment in black ink.

And to get the glittered edges I put 1/4" double sided tape along the edge of the card and sprinkled with Martha Stewart glitter. I forgot the name of the color of the glitter I used. Even my husband loved this card which is saying a lot as he usually just nods his head when I show him my latest creation. But this one he got a little excited over.

This will be my last post before Christmas so I want to wish everyone that stops by my humble blog the
Merriest Christmas Ever and a Happy New Year!

God Bless

Monday, December 19, 2011

Blue Inspired Card

I was going through my Jan/Feb Paper Crafts magazine the other day when I came across the article Cure for the Winter Blues and I came across this beauty from Betsy Veldman on page 43:


As soon as I saw it I was inspired to use my Butterflies and Birds clear stamps from Inkadinkado and I would be making two as thank yous and one as a birthday card.


Here is how mine turned out:


Betsy's card is 4x6 while mine is 4x51/2 so I only used four stamped images instead of nine and I matted each of my stamped images and added all four to a large mat on vanilla cardstock.

Tuesday, December 13, 2011

Christmas card

I remembered I had a box of Christmas cards that we had bought a few years ago at the end of the season to use the for the following year but when I got them out to use the next year the embossed sentiment on the front had been printed upside down. At the time I didn't know what to do with them. I didn't want to throw them away so I stored them away until now.
Here is the altered card:


I had just bought the Holly Hero Arts background Stamp and the embossing folder that goes with it at the CK Convention in Nov. and thought it would match well with the holly design on the card. I love how easy it was to stamp and match it up with embossing folder.


I cut a piece of white paper to fit the gold embossed rectangle on the card and stamped it with the Hero Arts Holly background and Forest Moss Distress Ink. Then I put it in the embossing folder and ran it through the cuttlebug. I stamped the sentiment on white paper with black ink and cut around it and inked the edges with Fired Brick Distress Ink. I adhered the sentiment to middle of the embossed paper with pop up dots.

 The original design was just the gold foil embossed with Merry Christmas.


I also used some red Smooch to color the berries on the sentiment.


 Here are the embossing folder and the background cling stamp. I really love how easy it was to use them together.


So now we have 18 Christmas cards that we can now use to send to our friends and family instead of throwing them away.
Has anyone ever ran across cards printed upside down before? I worked for Hallmark Cards (the plant not a card shop) for 10 years and I don't know how a mistake like that could get through without someone catching it. At least it wasn't a Hallmark card.

Tuesday, December 6, 2011

Valentine Workshop for the Troops


Today we held our second card making workshop for the Troops. It was a good time with paper, glue and scissors moving at warp speed as we each made two cards from eight designs so we each ended up with sixteen cards. We had plenty of warm beverages and sweet treats to keep us going.

Thanks to all you ladies that shared your time and talent! We even had two gals that had never made a card and their cards turned out fabulous.

For those who weren't able to finish your cards here are the samples of each card as a guide. (Except for card 5 which is missing. I will post it as soon as I find it or make another one.)


Card 1


Card 2


Card 3


Card 4


Card 5 (I found it)


Card 6


Card 7


Card 8

If anyone is interested in making cards for the troops to send home to their family and friends you can leave a message in my comments and I will get let you know when our next workshop will be. Or you can visit From Our Hearts blog http://www.fromourhearts.info/ and send your cards directly to them.

I will be posting photos of  some of the cards the others made next week.

Saturday, December 3, 2011

Thanksgiving Vacation Pics

I hope everyone had a wonderful Thanksgiving. We spent ours in Arizona with friends and our daughter who is in college and had a wonderful time with them and enjoyed the sun that shined every day we were there.

Here are some of the things we saw and did while there:


Enjoy the Christmas Season