Showing posts with label Father's Day. Show all posts

Wednesday, July 15, 2015

Cards to Share FINALLY!

I have been missing from blog land for a very, very long time. Our son became very sick last November and was hospitalized for several months. It was a very stressful time for me and not only did I not have the time for anything crafty I just didn't have any desire to create. 

But thanks for the power of prayer from all of our family and friends our son is out of the hospital and is back at work and is much better. 

I now have found a bit of creative mojo  and started making a few cards last month.
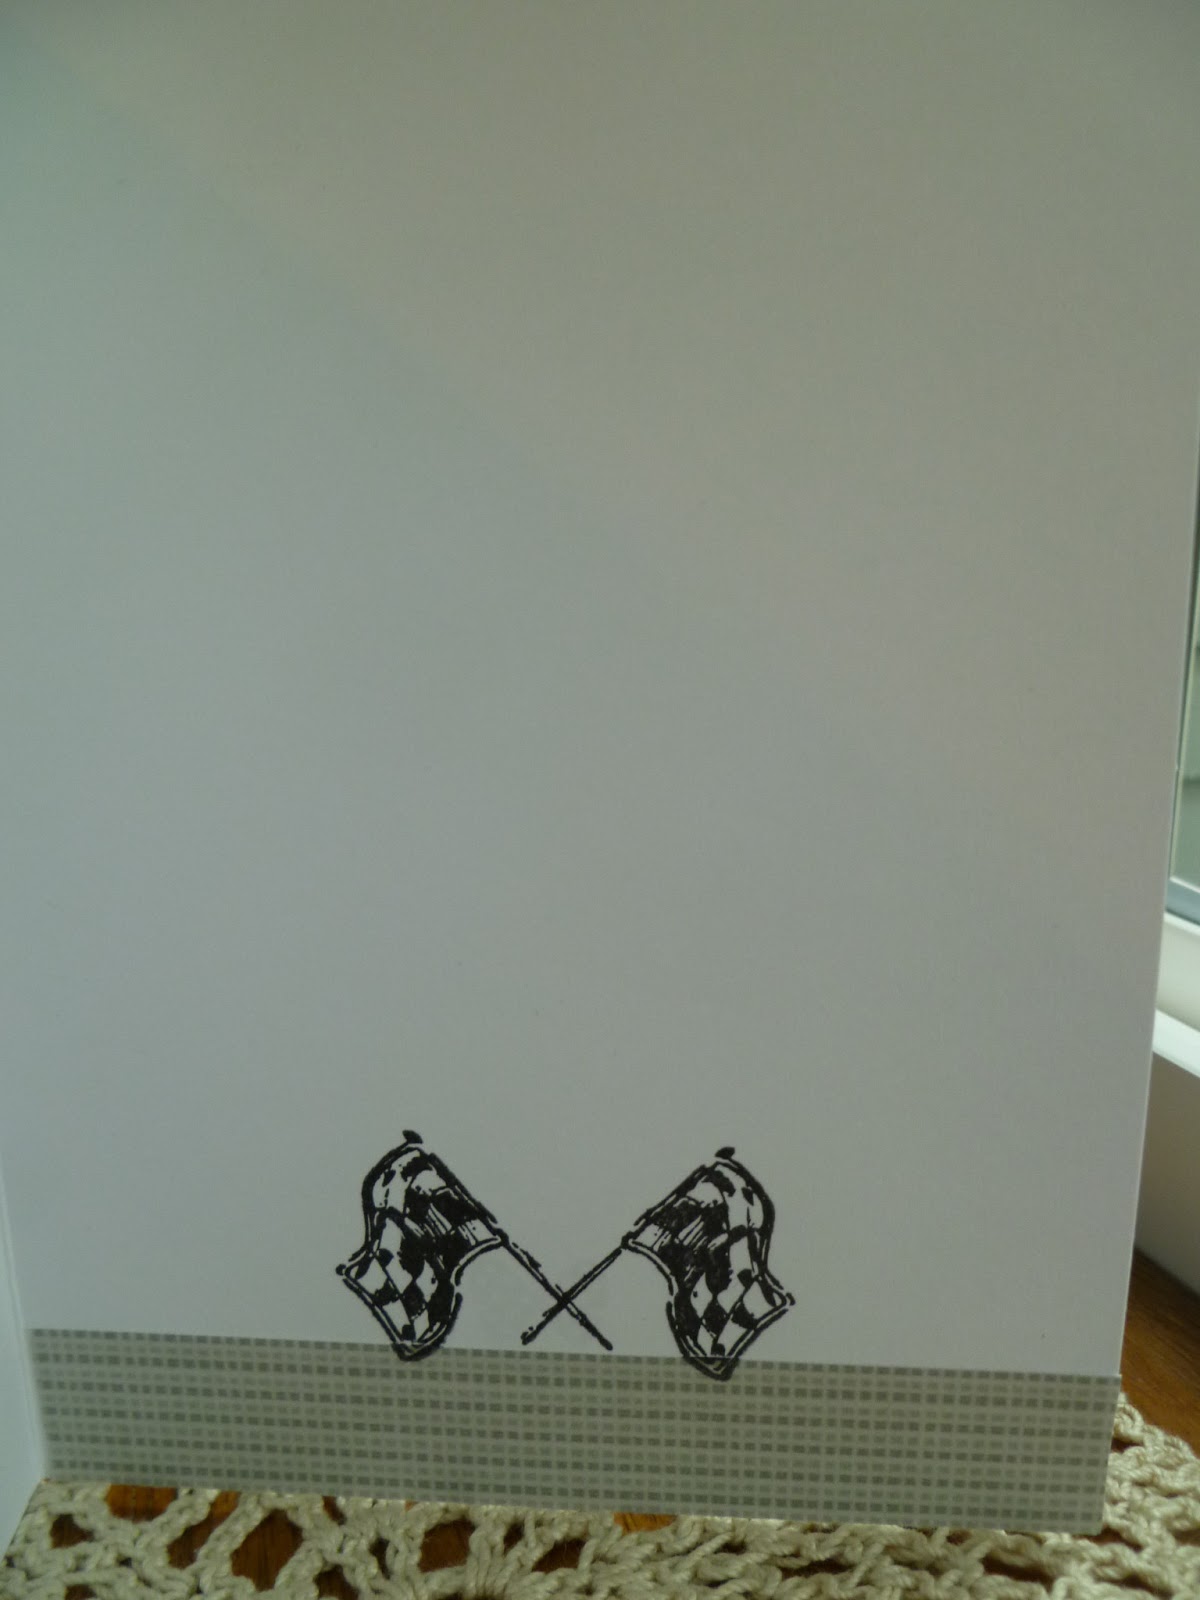
The first card is the one I made for my Dad for Father's Day.
 My Dad's birthday was also in June and I forgot to take a photo of it before I mailed it, oops!

I also had a June graduation and when I saw this card I knew I had to make a similar one:
It is such a clever idea don't you think? So I changed the color to blue and added some bling. It was fun and easy to make! I found the card on Pinterest. Go here to Two Paper Divas to find out how to make one for yourself:
  Here is a look at the inside:
 
I thought it was so clever to fold the money so it became 2015. I stamped the hat then hand cut it out to glue onto the owls head.
 This last card I just made today:
I have always admired the sunburst look but never knew how it was done. Well again I was on Pinterest and found a great tutorial video from Dawn Olchefske. I was so eager to try it out that I sat down right away to try it out. With Dawn's directions it was very simple to do and a great way to use up some scraps too.
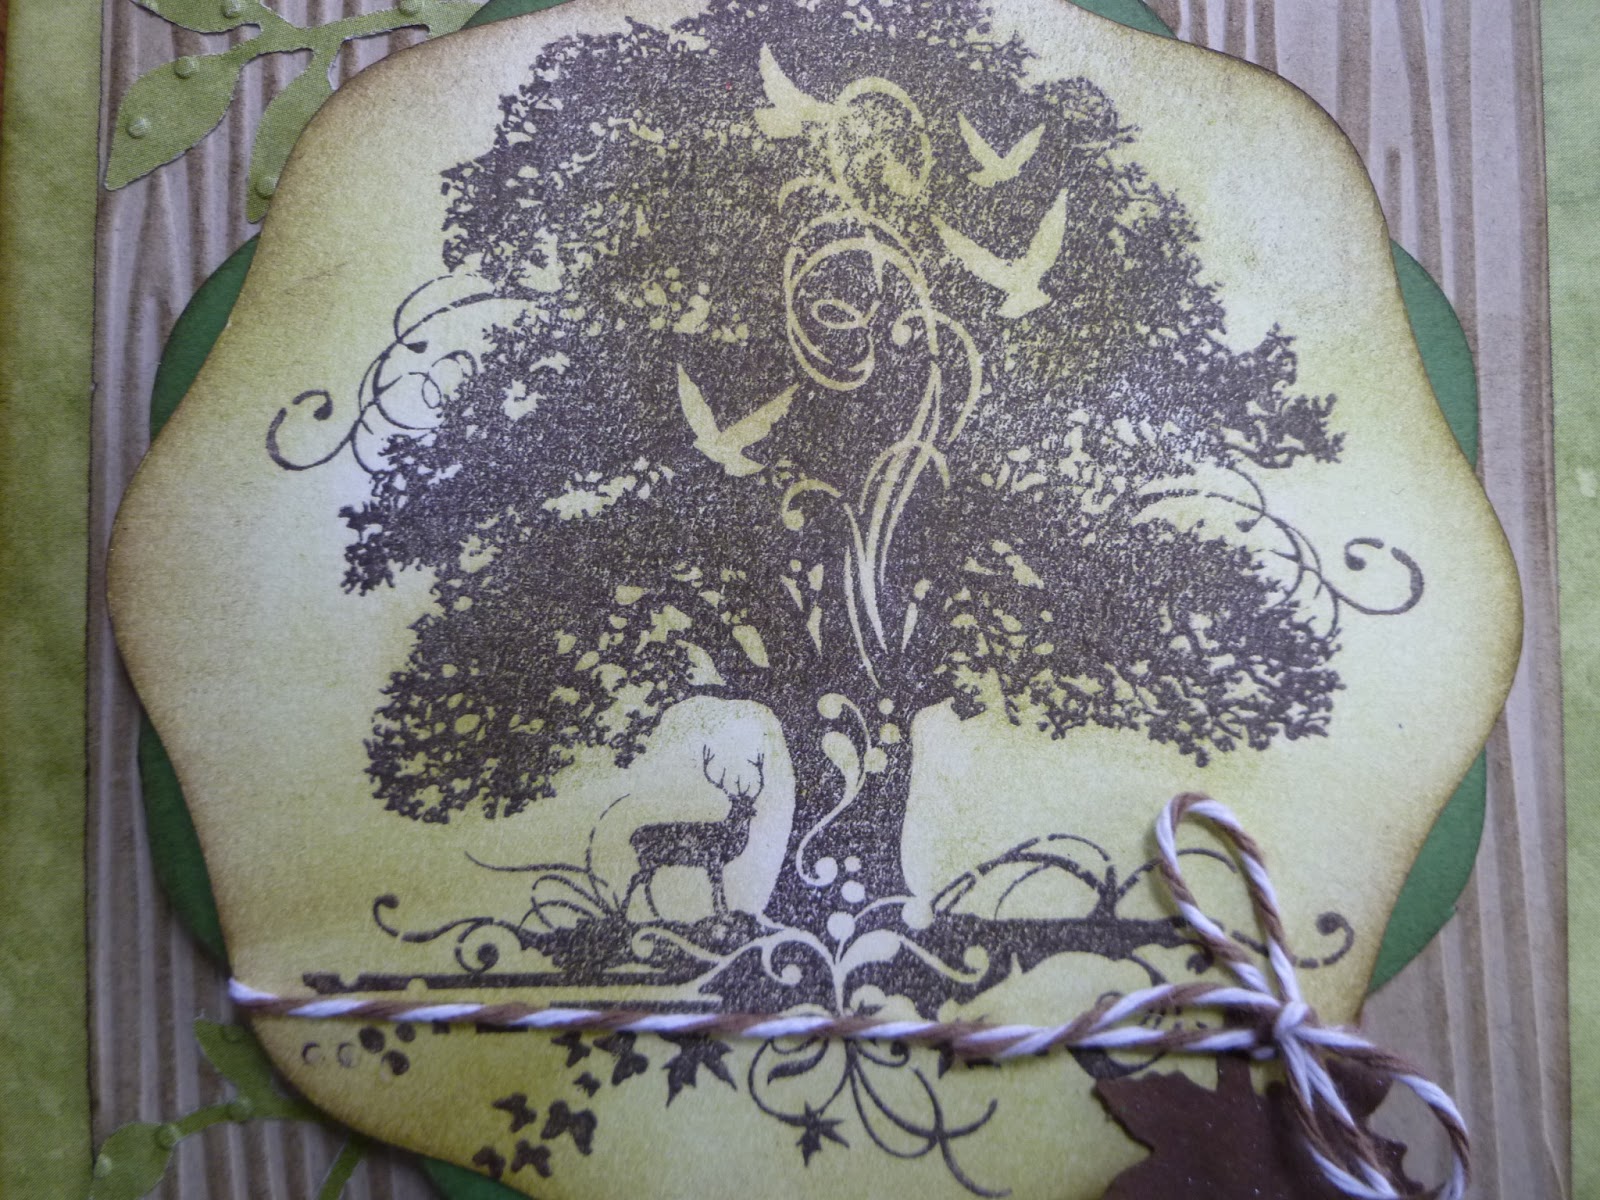
This is just a close up so you can see the texture of the paper and a little of the shine.
I have also been working on some scrapbook pages so maybe I will have them done in a week or so to share but right now I can smell the whole chicken I put in the crockpot this morning to roast all day. It is really smelling delicious so I think it is time to take it out.

Hope you all are enjoying long summer days!

Teresa

Monday, June 9, 2014

Galaxy of Stars

Sunday as I was reading some of my favorite blogs  I came to Karen Giron's blog, The Sweetest Thing and her Sweet Sunday Sketch Challenge 222 post.

I really liked the sketch....
 
Then as I was looking at all of the cards created by the Sweet Sunday Stampers I came across this bold and fun creation from Tracy Clemente...

Isn't it such a fun birthday card with all the colors, stars and banner? I was so inspired by Tracy's card that I wanted to make a fun Father's Day card for my dad so I got right to it.
 
 Here is how my card turned out...
 It actually turned out very similar to Tracy's. The colors are different and I had to make my banners as all my banner stamps were too large. I used a tiny alphabet stamp set and stamped them with Versa Mark watermark ink onto the cardstock and embossed them with white embossing powder. I then hand cut each letter into a banner and glued them along the stamped line. I then did some pen stitching on each banner to make them look like they were sewed on. I also stamped the red ribbons at each end of the banner and added punched stars and a gold ball to the center of both of the star centers. I also did hand pen stitching along the edge of the circle.
 
And instead of saying happy birthday I changed the sentiment to Happy Father's Day.
I like how the black background really helps the colors to pop.
My husband came into my craft room/office today and saw the finished card laying on the table and made the comment that it was a pretty cool card. Wow, I think that is the first time he has ever made a comment on one of my cards unless I asked him for his opinion. So he really must have liked it to voluntarily offer his opinion like that.  
 
Check out Karen's card that she made with the sketch and all the other Sweet Sunday Stampers. I promise you will be inspired.
 
Thanks for dropping by and have a wonderful day!
 
Teresa


Thursday, June 13, 2013

Sailboat and Flourish Tree

Hello! 
A friend called on me to make a few cards for her this weekend and I am done. The first card is one of two Father's Day cards she needed and has a nautical theme which really seems popular right now.
I realized that I really need some nautical themed pattern paper but I was able to make do with what I had on hand. I used this Mojo Monday Sketch
These colors were challenging for sure but it is fun to try out new color schemes and break out from the same old ones I use over and over.

For my focal image I used a little boat stamp from Hero Arts and paired it with a wave stamp from Raindrops on Roses (I don't think they are in business any longer) and I encircled it with an image from my new Verve stamp set "Strong Anchor" inked in Tumbled Glass distress ink. Fired Brick was used for the boat and Ocean Depth chalk ink for the waves.
I used a couple of embossing folders to add texture to the cardstock and added baker's twine from The Twinery along the scalloped edges.The twine seem to blend the edges together. Sometimes I just don't like seams to show and the twine was narrow enough and was another way to add more of the indigo blue color.
 I had to move the sentiment banner to the top instead of below the focal image as in the sketch. It just wouldn't work underneath. I stamped the sentiment, which is from Verve, in Ocean Depth and inked the edges too.
 Here is the inside of the card using leftover scraps off of paper I had to trim down and the ships wheel that I had wanted to go on the front but it didn't work out so I used it inside the card.
 Here is the next card:

 I used this sketch from Retro Sketches

 For the focal image I used this lovely tree image with the dear that I already had in my scrap box all ready to go and I even had the green mat to go with it. So this card came together rather quickly. 
The only thing I had to do to the focal image was ink it with Peeled Paint distress ink and then inked the edges with Walnut Stain.
 I just added the twine from The Twinery around the bottom and glued a maple leaf that I spritzed with Perfect Pearls. The sentiment is the same as on the first card just stamped on kraft CS in Walnut Stain distress ink.
 This photo shows the dimension and the texture from the embossing folders I used on the kraft CS and the leaves. I also inked the kraft CS with Walnut Stain and also the edges of all the papers.
Instead of using the banner in the sketch I thought it would be fun to switch it for leaf branches.
I am also entering both cards in The Twinery's Anything Goes... Twine Madness Challenge and in the  Hero Arts #25 It's a Man's Man's World Challenge.
My, there are a lot of fun challenges out there! So go ahead and check these challenges out. There is still plenty of time to play along if you want to.
If you know of other fun challenges please share them in a comment here. It is always fun to try new challenges.


Saturday, June 1, 2013

You Are My Anchor

Here is a little weekend inspiration this morning. I have found if I get up a little earlier in the morning I can get in more and better crafting time. Also I seem to have better creative mojo in the mornings than in the evening. By the time I am done for the day and have time to work on cards sometimes I am just too tired to be creative. Plus I can see  colors better in the sunlight verses artificial light.
Here is my Father's Day card for my husband:
I used this pretty sketch from Cardabilities.
.
 I stayed with the black, gray and white color scheme that I used for my dad's card, A True Classic as I really love the crisp and classy look of these colors together.
 I used my lovely new Verve Stamps and die. I stamped the rope circle on a journal card with black ink then die cut it with a Spellbinder die. I backed it with pattern paper & die cut with a larger die. The scalloped strips are scraps that worked perfectly for the sketch. And you can see I was able to work in a little baker's twine in keeping with my self imposed challenge to use it verses just letting it sit and look pretty on my shelf. LOL. The anchor was stamped in watermark ink and embossed with silver embossing powder then die cut. I inked all the edges with black ink to give more definition between the layers.
 I stamped the sentiment in black ink and embossed with clear embossing powder. The "Happy Father's Day" sentiment is stamped with watermark ink and embossed with silver
 I used some of the leftover paper to decorate the inside. I have started to do this on the inside of my cards since it not only looks nice but is a good way to use up scraps. It's not that fancy but it does add a bit of niceness on the inside and gives a bit of continuity to the card.

Well, that is all I have for today. The sun is out so I think I will work outside today and get caught up in my gardens.
Thanks for the visit and Happy Weekend to you all!

Teresa


Thursday, May 30, 2013

A True Classic

I realized today that Father's Day is not far away and my Dad's birthday will be coming shortly after. So with that in mind as I sat down to create a card I pulled out the stamp set Twist and Shout from Fiskars. It has a 50's theme but today it was the old car I was interested in.
I used this sketch from Deconstructed Sketches
As soon as I saw the sketch I thought it was perfect for a masculine card and it was. I am very happy with the way it turned out.
 I went with black and white for the color scheme. It just seemed to fit the car theme. I stayed true to the sketch with a few minor exceptions. I moved the banner to the very top of the card, the baker's twine is under the banner and I added a piece of ribbon at the bottom.
 I love baker's twine and bought 12 colors of it a while back. It looks so pretty in the glass pot I keep it in but I just seem to forget about it. So I am making an effort to include a bit of baker's twine in my projects.
Oh, and by the way here is the inside of the card. I am of course going to add a sentiment inside a little later.
 Have a wonderful evening!

Teresa