Showing posts with label Deconstructed Sketch. Show all posts

Saturday, September 7, 2013

Bundle of Joy

Good morning and I hope your weekend is off to a good start!
It is rare that I need a baby card but my husbands nephew and wife just had a sweet baby girl.
Here is what I came up with:
 For the design of the card I used the Deconstructed Sketch #117
 
I really love how the left corners are rounded. The only change I made was I just moved the wide border strip over to the very left side edge of the card and made it a bit narrower.
When I came across the inspiration photo for ColourQ's # 205 Challenge for this week I fell in love with those boots!
I think the colors made for a sweet baby card too. For Island Indigo I used Ocean Depth Versa Magic ink, Picked Raspberry Distress ink for Raspberry Ripple and Spun Sugar DI for Regal Rose.
 I just love the bit of ribbon sticking out from the button that I threaded twine from The Twinery through. I just can't seem to leave empty holes in buttons.
And since I used a button I am also entering this card in the A Blog Named Hero Button It Challenge #31

All you have to do is add one button or as many as you would like to your new project or card.
 The booties are the only baby stamp I have so I pulled it out and inked it up with VersaMark watermark ink then with Picked Raspberry and embossed it with clear embossing powder. I stamped it on white cardstock and colored the booties in with Spun Sugar and a bit of Picked Raspberry before cutting them out.
The pattern paper and cardstock is all from Creative Memories and so is the scalloped border. I wrapped a bit more twine from The Twinery around the border to give it a more finished look. I embossed the light pink cardstock with a Cuttlebug embossing folder and sprayed it with Perfect Pearls for a little sparkle.
I did have to piece together the sentiment from three different stamp sets. The "congratulations " so from an Hero Arts set and the "On Your" is from PTI's Tea for Two Additions and the Bundle of Joy is from PTI's Mega Mixed Messages. The latter is my go to stamp set. I use it so much. I thought about just using the computer to type out the sentiment but I wanted to use the Ocean Depth ink instead of black for a softer look.
Well, there you have it! My baby card for the year. I think I really should invest in a stamp set for babies. Any suggestions?

Teresa

Thursday, June 20, 2013

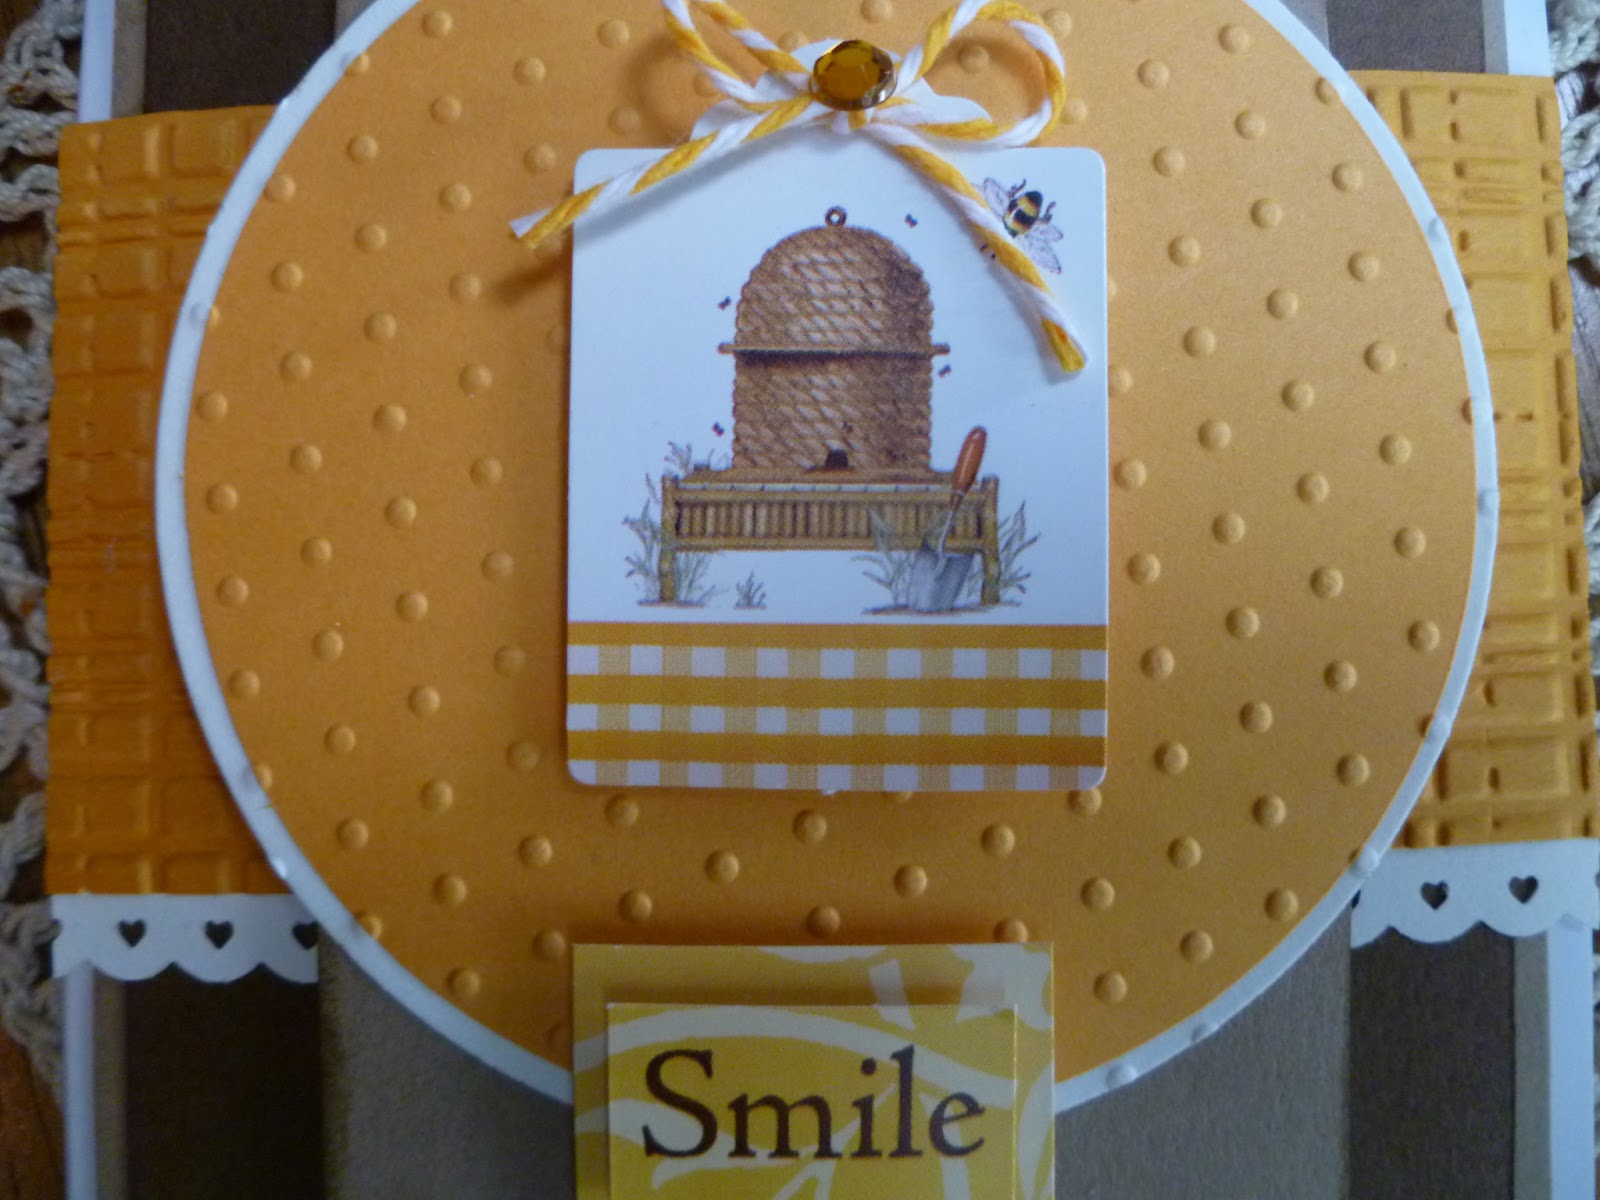
Smile

Good morning! 
I whipped up this little card late last night...
...and I used this pretty little sketch from Deconstructed Sketches #105
 
It all started with this darling little beehive tag. I went with the colors on the tag then opened my trusty scrapbox to see if I could find some circles and I hit the jackpot. I found both the white and yellow circle that fit together and I just adhered them together and ran them through the Cuttlebug with my favorite Swiss Dot embossing  folder. The tag already had a pop up dot on it so I just adhered it to my circle mat added a baker's twine bow from the Twinery and a gemstone to the center of the bow.
 I  rummaged through my white scrap paper and found this cute scalloped border with tiny hearts in the center of each scallop and paired it with the yellow paper which I also embossed with a different embossing folder.
I used a light brown for the banner behind the circle. The banner looked a little plain so I did what I always do when something needs a little pick me up, I inked the edges with Walnut Stain distress ink. That inking and pop up dots did the trick.
I added the "Smile" sentiment at the bottom of the circle instead of by the baker's twine at the top. It just seemed to fit better and I tied the baker's twine in a knot verses a bow. A bow seemed to compete with the bow on the tag.
 Besides entering this card in the Deconstructed Sketch #105 but also the A Blog Named Hero Challenge #26 where you have to use a tag and the The Twinery's Anything Goes Twine Madness Challenge where you can use twine however you like.
So there you have it. Now I'm off to enjoy the day and I hope you do too!

Teresa

Sunday, June 9, 2013

All Sweetness and Light

This will be quick as I need to get this done in time to meet a deadline. Sorry the photos is so bad. I can't believe that there was too much light to get a good photo.

 I used the Deconstructed Sketch 104 
 and Tuesday Trigger: All Sweetness and Light for color inspiration

I love the three banners layered together.
 I used an embossing folder on the gray cardstock.

So sorry for the horrible photos and short post.
Teresa

Thursday, May 30, 2013

A True Classic

I realized today that Father's Day is not far away and my Dad's birthday will be coming shortly after. So with that in mind as I sat down to create a card I pulled out the stamp set Twist and Shout from Fiskars. It has a 50's theme but today it was the old car I was interested in.
I used this sketch from Deconstructed Sketches
As soon as I saw the sketch I thought it was perfect for a masculine card and it was. I am very happy with the way it turned out.
 I went with black and white for the color scheme. It just seemed to fit the car theme. I stayed true to the sketch with a few minor exceptions. I moved the banner to the very top of the card, the baker's twine is under the banner and I added a piece of ribbon at the bottom.
 I love baker's twine and bought 12 colors of it a while back. It looks so pretty in the glass pot I keep it in but I just seem to forget about it. So I am making an effort to include a bit of baker's twine in my projects.
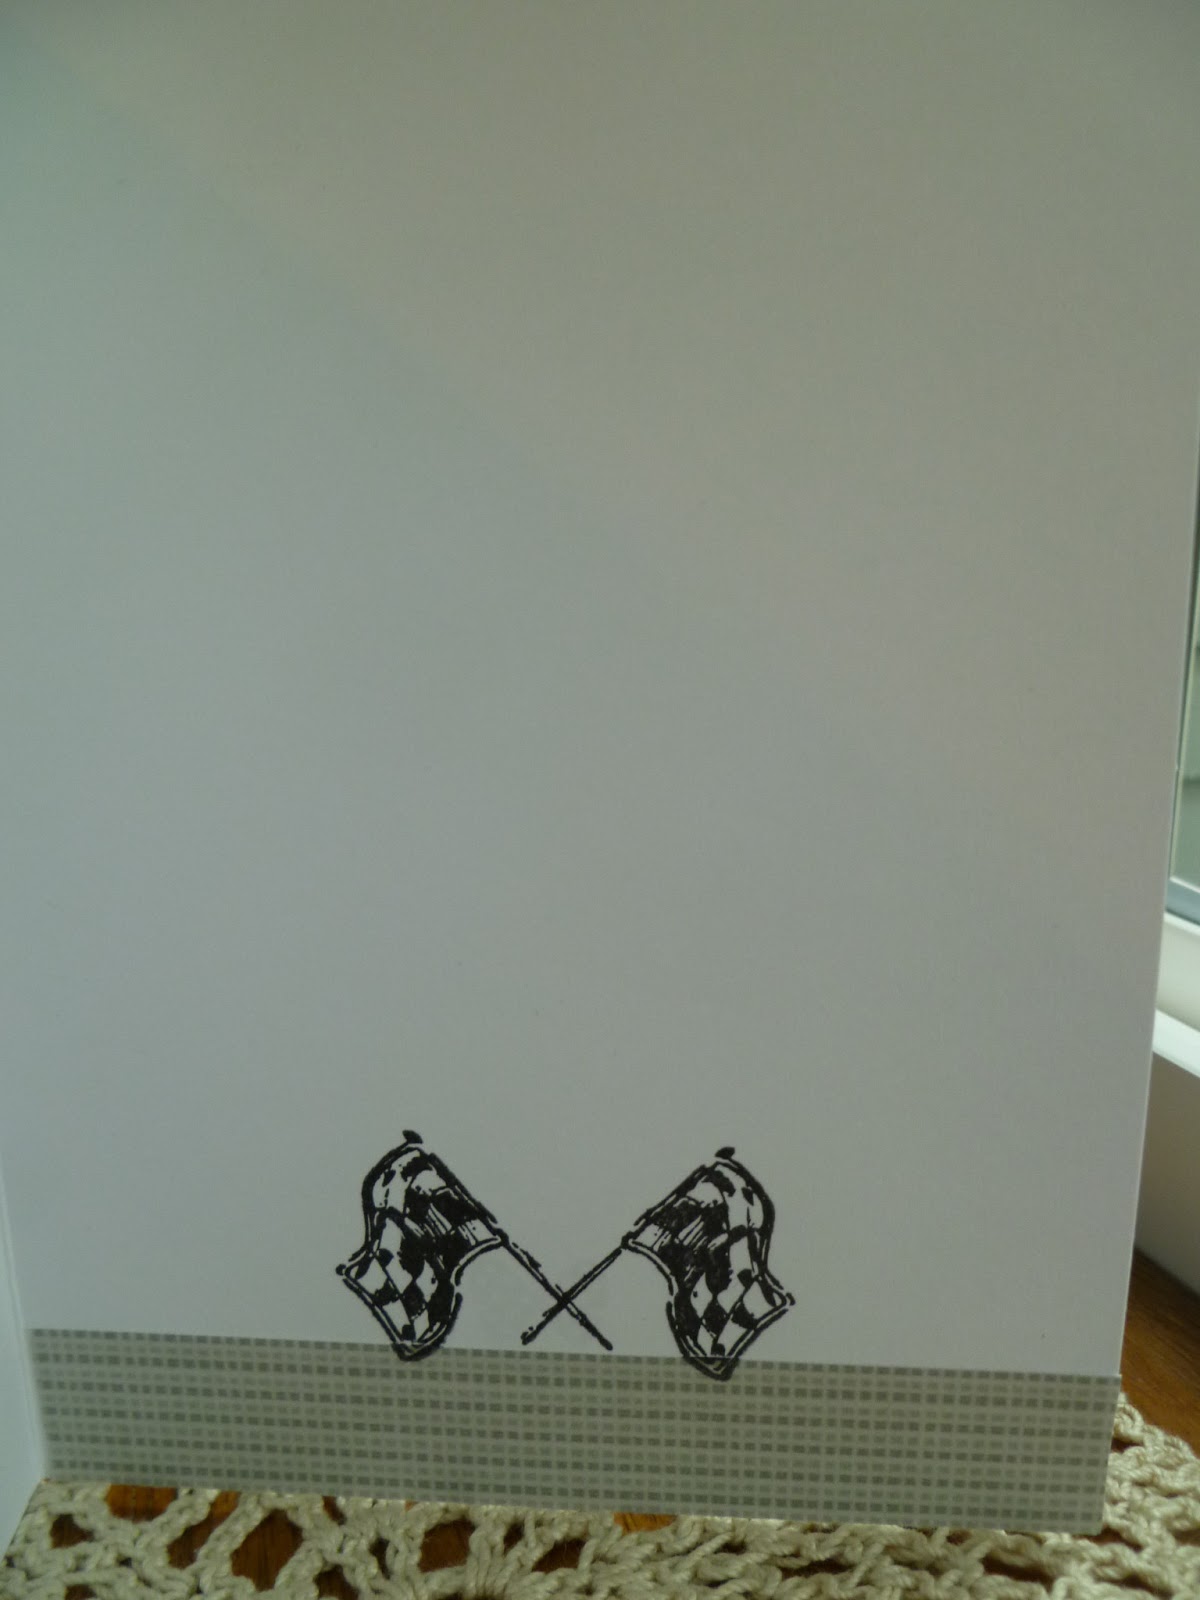
Oh, and by the way here is the inside of the card. I am of course going to add a sentiment inside a little later.
 Have a wonderful evening!

Teresa


Thursday, May 23, 2013

Green and Purple Congrats

Another gloomy and cold day today so  I was able to spend some time in my craft room this afternoon.
I needed to make a card for a couple at our church and have been thinking it over in my head for the last couple of days; what stamps, sketch, colors, and paper I was going to use for it.
I had the sketch already picked out. It is sketch #102 from The Deconstructed Sketch  by Jen Shultz. She always has such wonderful sketches.
I decided the card would look best by turning the card and flipping the sketch a bit.
 As you can see I picked green, purple and brown for the colors. The praying hands were stamped on watercolor paper that I still had sitting on my desk from my last card session. I then inked it with Antique Linen and hand cut it out.
The background for my the sentiment, which by the way I did on the computer, is also a leftover mistake from my last card. I had stamped the script stamp slightly crooked and couldn't use it. For this card I die cut it with a Spellbinders die and just made sure the die was placed so the script was straight. I also inked the background paper before I die cut it so I wouldn't bend the delicate border. I used Crushed Olive, Forest Moss, Peeled Paint and Walnut Stain distress ink. I then ran it through the printer for the sentiment. "Congratulations" is stamped with Forest Moss distress ink on ivory cardstock then inked with Crushed Olive, Concord Grape and Walnut Stain distress ink.
I also roughed up the paper layers to help give the card an aged look. The two purple over-sized brads are something that I have had for several years so it felt good to use them. I also inked the edges of the white card base with Forest Moss, Concord Grape and Walnut Stain distress ink. Lots of inky goodness on this card!

Teresa

Saturday, March 16, 2013

One More Thank You

Happy weekend!!
For my last thank you card I used this wonderful sketch from The Deconstructed Sketches. Go here
to the Deconstructed Sketch blog to see cards from the DT for more inspiration using this sketch. You might even want to play along.
Here is my card using The deconstructed sketch #93
 The paper is from DCWV and I think I was able to use just scraps to make this card which is always a plus in my book anyway :)
The striped banner was a leftover piece from another project so I decided it would work for this card and I added the red scalloped border because the card just looked too plain.
Now I just need to get my thank you cards ready to mail.

Enjoy your weekend.

Teresa


Saturday, July 14, 2012

Magic Potion

I used this weeks sketch over at The Deconstructed Jen's for the card I am sharing with you today. It's been awhile since I've used a Deconstructed Sketch . I enjoyed playing along and seeing how others interpreted the sketch. 
Here is Jen's sketch;
 Jen has such creative sketches that makes you think out side of the box at times.
Here is what I created with the Deconstructed Sketch #60:

I had been going through some Halloween papers and had just seen a tag that was already punched and I thought to myself I need to use this, as it was made with some of my favorite pattern paper. So when I saw this sketch and I knew the two were meant for each other. I had to change the sketch from a square card to an A2 size so my card looks a bit different.
All the stamps are Studio G dollar stamps. I used Memento Tuxedo Black ink  on white CS and embossed with black embossing powder on the Magic Potion image. After cutting the image out I used Pumice Stone distress ink to color the image making the edges darker.
The Happy Halloween sentiment is stamped with the same ink but not embossed. I used a light gray CS and inked the edges with Black Soot Distress ink. I then inked the edges of all pieces of paper before adhering it altogether. I added the orange and purple gemstones to balance out the left side of the card and added ribbon and twine to the tag.

Hope you enjoyed my card and give the sketch a try over at Deconstructed  Sketches http://deconstructingjen.com/archives/6157

Teresa

Monday, April 30, 2012

Trio of Patriotic Cards

For my first card I used this fun sketch from The Deconstructed Sketch #49:
Go here to see what others have done with this sketch: http://deconstructingjen.com/archives/5846
Here is how I used the sketch:
 I used the star embossing folder and misted it with Gold Perfect Pearls instead of the Pearl Perfect Pearls. I've had this corrugated cardboard forever and thought it would add some fun texture. After trimming the ends of the cardboard I inked it with Fired Brick distress ink then layered the rest of the shapes on top. The top mat is die cut from a Spellbinders die and added the gold pearls. The stars are leftover from a project I did a long time ago and were the perfect size.
 For the sentiment I used the light blue cardstock and used Watermark VersaMark ink with white embossing powder.
Up next is a card I made from sketch#FTL188 found at Clean and Simple Stamping: http://cleanandsimplestamping.blogspot.com/2012/04/188.html Visit them to see many inspiring projects using this cute sketch.
Here is the sketch:
Cute isn't it?
Now here is the card I created with the sketch:
 I am pleased with how this card turned out. It might have to do with the fact it has a bit of glitter. I again used the star embossing folder and gold Perfect Pearls. Stamped the image with Memento Tuxedo ink then I colored it with Red and Clear Glaze Pens.
 Can you see how the glaze pens add shine in the photo? They also add just a hint of dimension without the bulk. So fun and easy to use.
 Again I used Watermark VersaMark ink to stamp the sentiment then used white embossing powder.
For my third and final card of the day I used this simple sketch #263 from CPS:
 See how the sketch was used by visiting here: 
http://cardpositioningsystems.blogspot.com/  This week CPS is being sponsored by Skipping Stones.
Here is what I created using the sketch:
 Once again I embossed the white cardstock with the Cuttlebug star embossing folder but this time I wanted a distressed look so I used the blending tool with Fired Brick distress ink and lightly ran it across the top of the embossed paper. Then I did the same thing with Vintage Photo. I used a distress tool on the edges and then inked the edges with Vintage Photo.
 I stamped the image on white cardstock and colored it with Glaze pens. I inked it with Fired Brick and Vintage Photo Distress ink to age it. Then I was in a dilemma. I needed to do something with the two end pieces. They were just sitting there blank. I couldn't think of a thing to do that would look right. I wanted to emboss them but I thought they would look out of place with out the middle block embossed too but I had already adhered the stamped image to the navy cardstock. Finally I decided just to go ahead and emboss all three pieces and hope that the ink from the Glaze pen would not crack when it was embossed.
 The ink held up and the image looks really cool embossed. Problem solved! I just rounded the outside corners and was done. I left off any sentiment that way it can be used just as a note card or even for someone whose birthday falls on July 4th.
I am only about two cards short of having 20 patriotic cards to send to From Our Hearts for our troops overseas. I can't believe I have made so many different using pretty much the same supplies and the same colors of cardstock. Although I must admit I am getting a little tired of red, white and blue ;). Thanks to all the great sketches I have used each card is unique and kept my mojo going.
Have a great week!
Teresa


Saturday, April 28, 2012

Butterflies and Stars

This first card is inspired from this sketch FTL187 from Clean and Simple Stamping:
Here is the link if you would like to join in the fun and see what others have created: http://cleanandsimplestamping.blogspot.com/2012/04/ftl187-just-note.html
 I am disappointed in how the card turned out. I worked hard and long on it and thought about scrapping it altogether but after all the time I had put into it I felt I needed to keep the card.  After all just because I don't like it someone else might really like it. I think it is the gingham paper that just isn't working. And the stars I made didn't turn out quite like I thought they would. I had to turn the sketch so I could fit in the stars. I added a white star gemstone to the center of the big star. That seemed to help a bit.
And instead of a straight end of the gingham paper I cut it into a ribbon on the bottom and I embossed the sentiment with white embossing powder. The stars are die cut and embossed with Spellbinder dies out of watercolor paper and I used three different blue distress inks and three different red distress inks. I used the direct to paper method of inking them then spritzed them with Perfect Pearls to blend the colors. I had enough stars left to make two more cards.
For my second card I used this color blocked sketch from I Spy Sketch Challenge:
And oh boy you should see the cute cards the Secret Agents created! Here is the link: http://ispysketches.blogspot.com/2012/04/issc13-with-dawn-mercedes.html
Now for my card:
 This is my favorite of the three cards! There for a while I thought I had lost my mojo and almost gave up after the first card. I am also entering this card in the Tuesday Trigger Challenge over at the Moxie Fab World where every Tuesday Cath puts up an image to inspire us. This was a two weeker thank goodness as I didn't get around to making something for it last week. Here is the image:
Look at all those beautiful water color butterflies! Check out the Tuesday Trigger yourself here: http://www.moxiefabworld.com/2012/04/tueday-trigger-watercolor-butterflies.html 
Instead of butterflies I went with stars since I have been working on Patriotic cards. I used a different embossed cardstock for each of the color blocks. The white cardstock was already embossed and is from DCWV. The other two are embossed with Cuttlebug embossing folders.

This time I layered the three stars together and put a clear gemstone star on the top. It took me a while to figure out where to put the star. I finally decided to turn the sketch on its side and add the two rows of scalloped borders and wrapped a ribbon around the the whole thing.


I stamped the sentiment with Memento Tuxedo Black ink on red cs and matted that with a scrap leftover from the white embossed paper. I decided the layered star looked better on the border instead of in one of the blocks and put the sentiment under the star in the navy block.
For my third and final card for this week I used sketch #48 from The Deconstructed Sketch:
I thought this was a unique sketch and here is my take on it:
 I had one lonely blue star left to use! I stayed pretty true to the sketch. I just added a punched star border and after I was done with the card I kept thinking it just didn't look quite right so I got out my trusty corner rounder that seems to be just the thing to fix things like this. And once again it did the trick.
 I used  three rows of Michael's Craft Tape and after I stamped the word happy I thought it needed a little bit more of a punch so I got out a black Glaze pen and went over it. You can see how it now
has a shine to it as well as just a bit of dimension. Those Glaze pens are my new found must have craft item. I think I need more colors now that I have used them a bit.
Hope you play along with some of these sketches and challenges.
Have a wonderful weekend everyone!